For the example we are presenting here, a quick solution to copy or move selected data to a new location and retain all of the previously set NTFS permissions in a
domain environment, we will choose the Back up selected files, drives, or
network data option and click Next to continue.
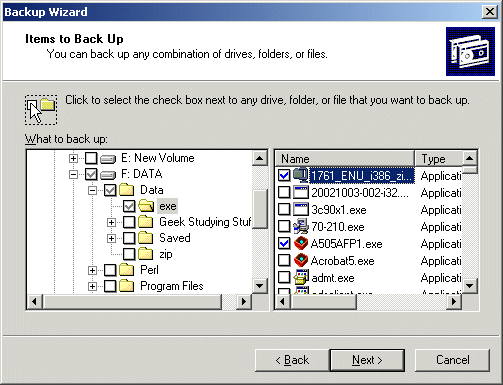
The next screen is the Items to Back Up screen where we select the files
or folders we want to back up. After this is done, click Next again to
continue.
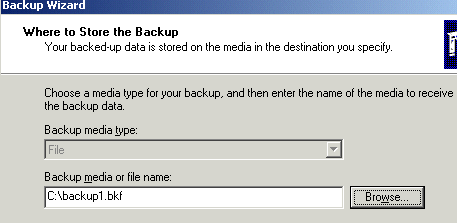
The next screen asks where you would like to store the backup file and what to name it. The location can even be the remote system to where we are going to eventually
restore the data to. It can also be to a floppy, ZIP or CDR(W) media as
well.
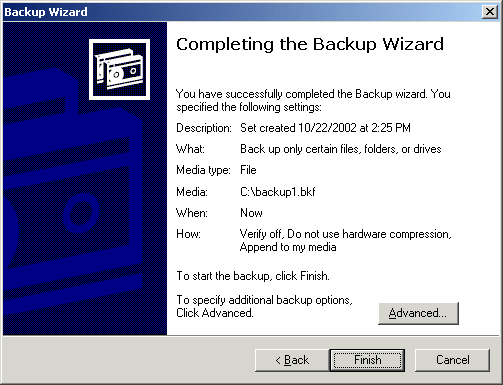
The subsequent Window displayed is the Completing the Backup Wizard screen, which allows you to finish the wizard or select Advanced to configure more settings. By selecting Advanced, we can accept all of the listed defaults on the upcoming series of screens and immediately kick off the backup. (You should opt to choose the Verify backup checkbox, to verify that the backup checksums OK.)