
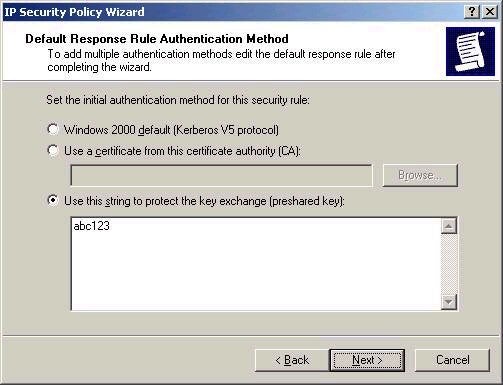
The next step is configuring the default
authentication mechanism to be used. In Active Directory
environments, Kerberos is probably the easiest choice, although
the use of certificates or a pre-shared key are possible given
that you may want to configure connections with systems that
only support these methods. For the purpose of simplicity, I’ll
choose the pre-shared key.
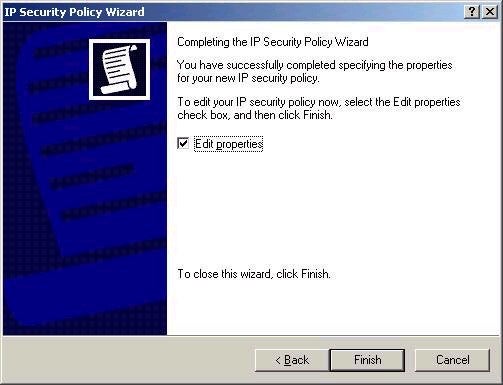
The last screen that appears is actually a little
confusing. While you have now created a new policy, you
still need to edit its properties. If you choose to
uncheck the box below, you can always still configure
policy settings later by right clicking on a policy in
Group Policy and choosing Properties.
If you choose to edit properties of the policy,
you will be presented with the property screen shown
below.
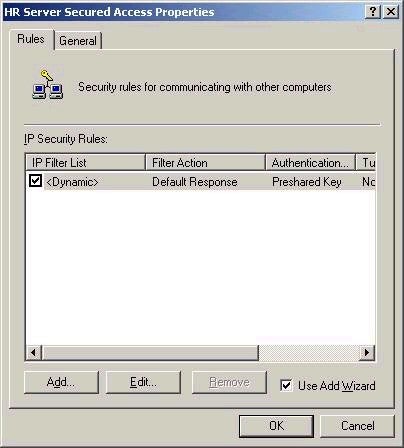
Note that by default, the only security rule that
exists is the Default Response rule that we chose to allow
in the previous wizard. This rule can be edited, or we can
add and remove rules from this screen. We’ll add a new
rule in a moment, but first take a look at the Advanced
button from the General tab below.
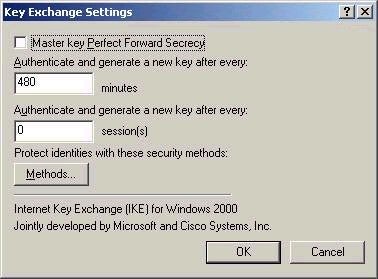
Note the settings on this screen above. The first setting, Master key
Perfect Forward Secrecy, is used if you want to ensure that the same
keying material or previous keys are ever used again in selecting a master
key. The other settings configure how often new keys should be generated
in minutes and seconds, while the Methods button allows you to configure
the integrity and encryption mechanisms used during exchanges (such as SHA
or MD5 for integrity, and DES or 3DES for encryption).
Now that you’re familiar with some of the property settings, lets
configure a new rule for accessing the HR server, as the name I gave the
policy suggests. This particular rule will require transport mode, since I
don’t want to define any type of tunnel. I also should have some concept
of which port or ports I need to secure for a particular application if
applicable. For my example, I am going to assume that we want all IP
traffic between this client and my HR server encrypted. You should
experiment with more granular policies on your own.
Clicking the Add button on the rules tab opens the Create IP Security Rule
Wizard, as shown below.
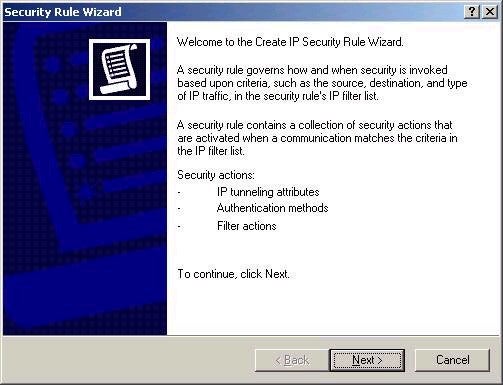
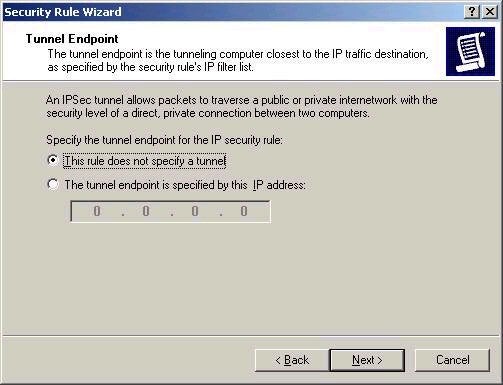
The first step is deciding whether or not the
rule specifies a tunnel. If not, the system will be
configured to use transport mode.
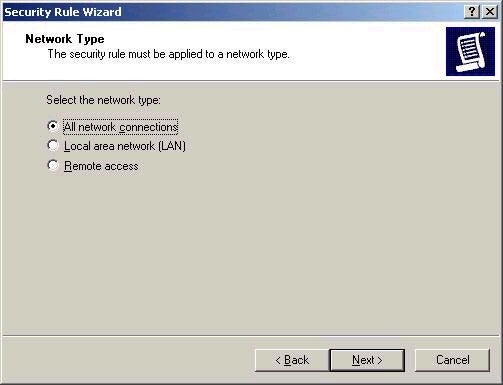
The Network type screen comes next. From here we
can decide whether you want the rule to be used for all network
connections, only LAN, or only Remote access. I’ve chosen that it should
apply to all.
It may seem strange that you are again presented with the authentication
mechanism screen again after this, but remember that each rule can have
its own. The one that we specified earlier was the authentication
mechanism for the default response rule. I’ll skip the screen shot since
it’s exactly the same as the one presented previously.
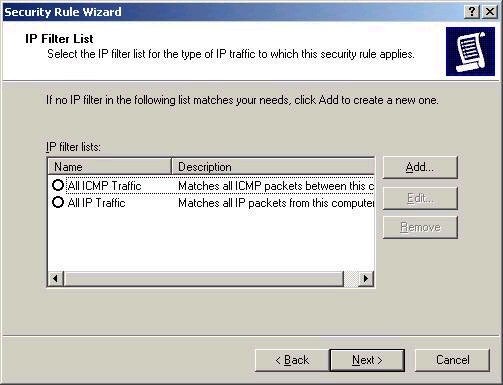
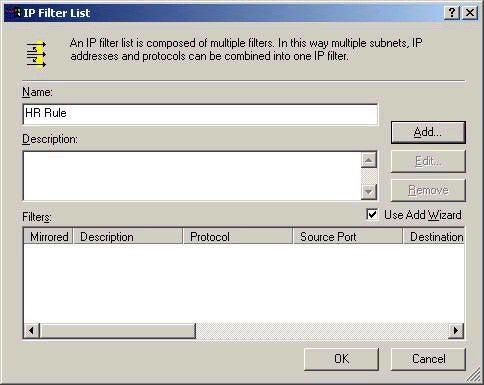
The next screen is where the going gets tough, since you need to specify
the exact types of traffic that you wish to secure. You might be able to
escape easily by choosing to secure all IP and ICMP traffic, but I suggest
taking a look at adding a rule that meets your needs a little
better.
After clicking the Add button to add a new filter
list, you are presented with the screen below:

ServerWatch is a top resource on servers. Explore the latest news, reviews and guides for server administrators now.
Property of TechnologyAdvice. © 2025 TechnologyAdvice. All Rights Reserved
Advertiser Disclosure: Some of the products that appear on this site are from companies from which TechnologyAdvice receives compensation. This compensation may impact how and where products appear on this site including, for example, the order in which they appear. TechnologyAdvice does not include all companies or all types of products available in the marketplace.