


The steps for configuring the server in any role are pretty
straightforward. You would select “Add or Remove a Role” from the main Manage Your
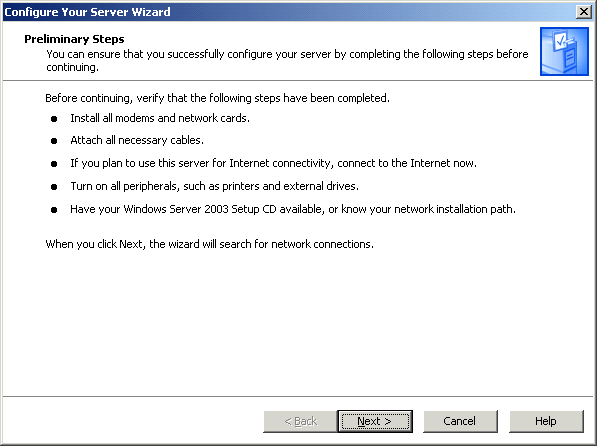
Server window to launch the Configure Your Server Wizard. Once you have read
the information on the screen, ensured that all of the network connections
are verified, and that you have the needed installation path information (or the CD)
for the Windows Server 2003 setup files, you can click NEXT to continue.
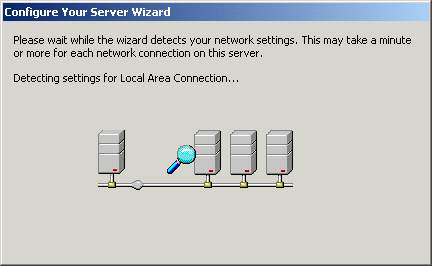
The setup wizard will test your available and enabled
network connections and bring you to the Server Role screen.
Here you will be able to setup the server for one or more
roles. In order to set up a second or third role for a server you would need to
run the Configure Your Server Wizard again, since only one role can be established at
a time.
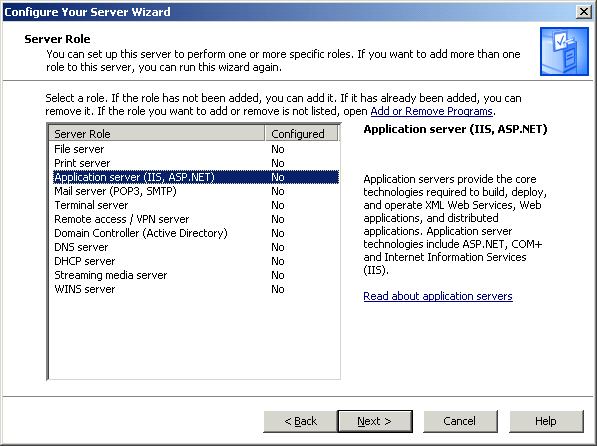
In the example above, we have selected “Application Server” in
order to configure the system as an IIS server.