If you want
to directly open the Disk Management MMC, you can type
diskmgmt.msc from the RUN box or from a command line. This
will run the tool independently from the Computer Management MMC.
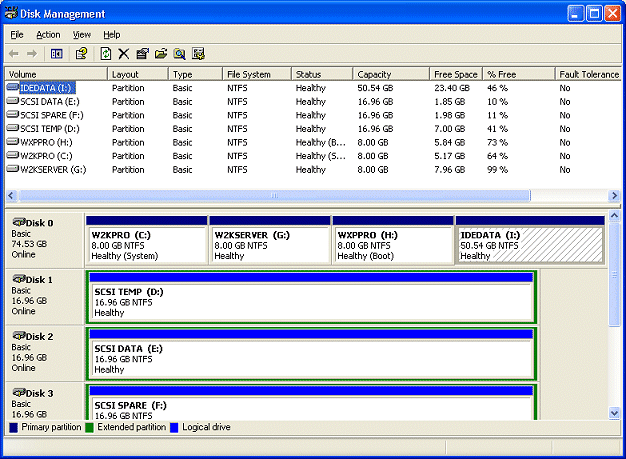
As you can
see from the image above, we have a number of basic physical
and logical drives on the system, as well as two CD-ROM
drives (not shown in the above image).
If there
were removable drives on this system, such as Jaz or ORB
drives and the like, they would appear here as well. The
removable drives, as well as the CD-ROM drives, will either
show “no media” when they are empty (or some error is
preventing them from seeing inserted media) or the file
system of the installed media.

(When I
inserted a CD-ROM in my DVD drive, the Disk Management MMC
automatically detected the change, refreshed its view, and
displayed the data. The Compact Disk File System (CDFS) is
the file system of the inserted disk as displayed.)
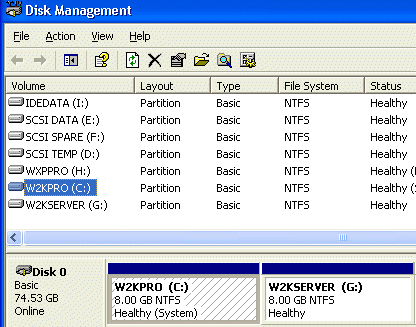
When you
select a drive in the upper window (which is currently set
to the default Volume List View) by left clicking on it
once, not only will it become highlighted (in blue), but it
will also become shaded in the lower part of the window
(which is currently set to the default Graphical List View).
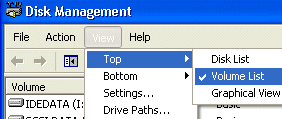
You can
change the appearance of both the top and bottom window
views by selecting VIEW from the menu and then selecting
whichever (or both) views you wish to change. Top and
Bottom, along with Settings and Drive Paths are controlled
here.
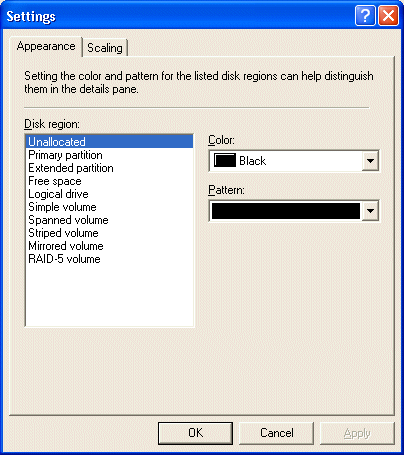
You can
change the colors and wallpaper for volumes and disk regions
by selecting VIEW and then SETTINGS. The APPEARANCE tab
shows all of the current default colors for the available
disk regions. Even disk regions that are not currently
installed on the system are set with specific colors by
default.
You can
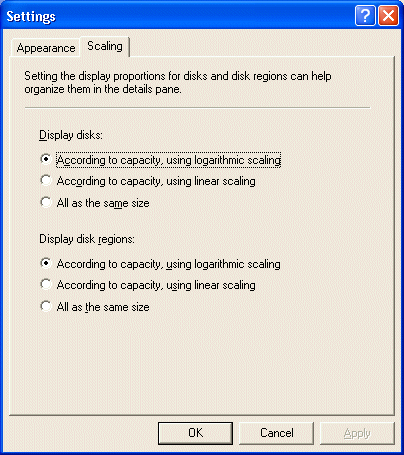
change how disk sizes are displayed on the SCALING tab. The
default settings are shown below.
That’s the
five cent tour of the Disk Management MMC.

