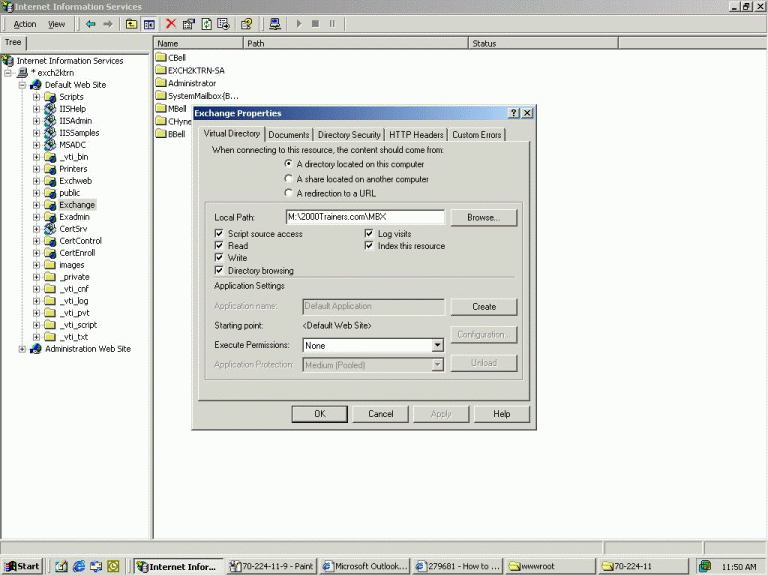
Now that we have done that, we need to go to the properties of the Exchange Virtual Directory inside Internet Services Manager. We are going to go to the Custom Error Messages Tab.
Figure 9 illustrates where we are at.
Figure 9
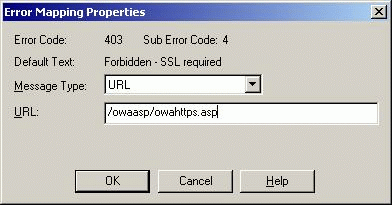
Once on the Custom Errors tab, we need to edit the properties of error 403.4. We are going to provide the information included in Figure 10.
Figure 10
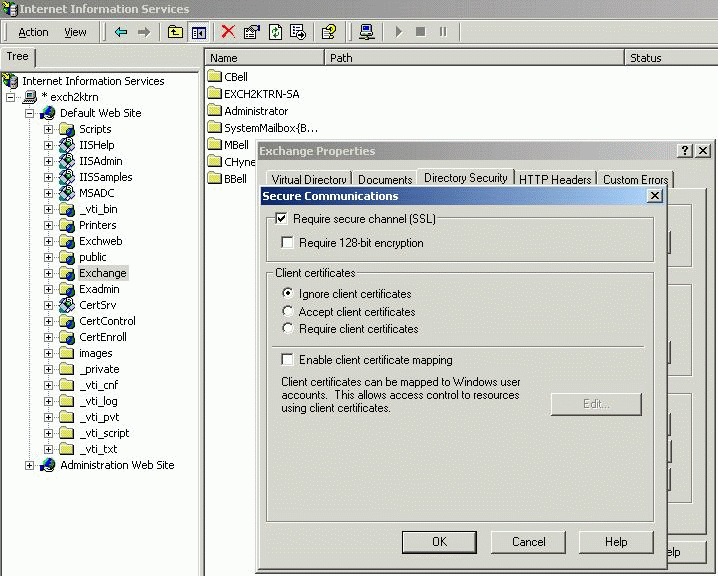
Next up, we go to the Directory Security Tab and select Edit under Certificates (from the Exchange Virtual Directory) and select to require security. You can see this in Figure 11.
Figure 11
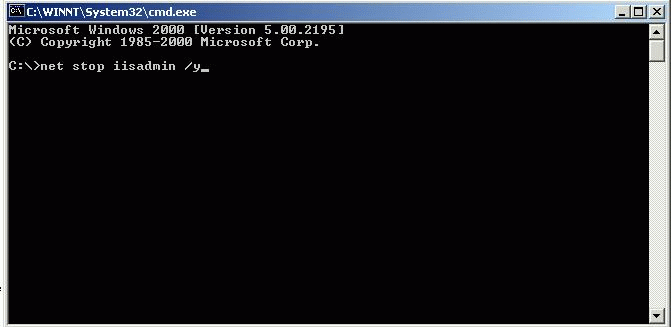
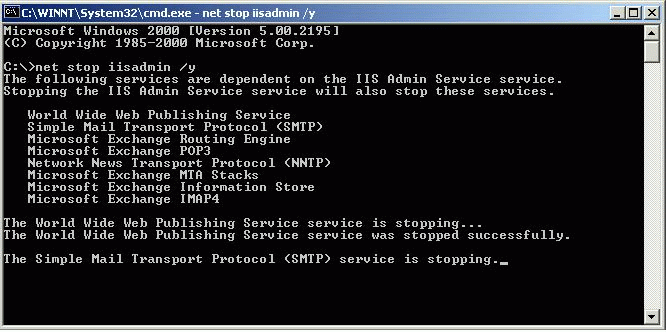
Now that we have finished that, select OK and OK to close out the dialog boxes. The only thing left at this point is to stop IISadmin and restart it. The easy way to do this would be to restart the server, but if that isn’t an option you can stop and restart the services from the command prompt. Take a look at Figure 12 for the command line syntax necessary to stop iisadmin.
Figure 12
You have to make note of the other services that will shut down when you stop iisadmin. As you can see from Figure 13, several services are dependent on the iisadmin service. Also keep in mind that based on the products and services installed your information might vary. Finally, if you don’t know the command line syntax to start all the individual services, remember that you can always use the Services Manager to restart them. Just right click on My Computer, Select Manage, and go to the Services option. Using your command console as a reference, restart all the appropriate services.
Figure 13
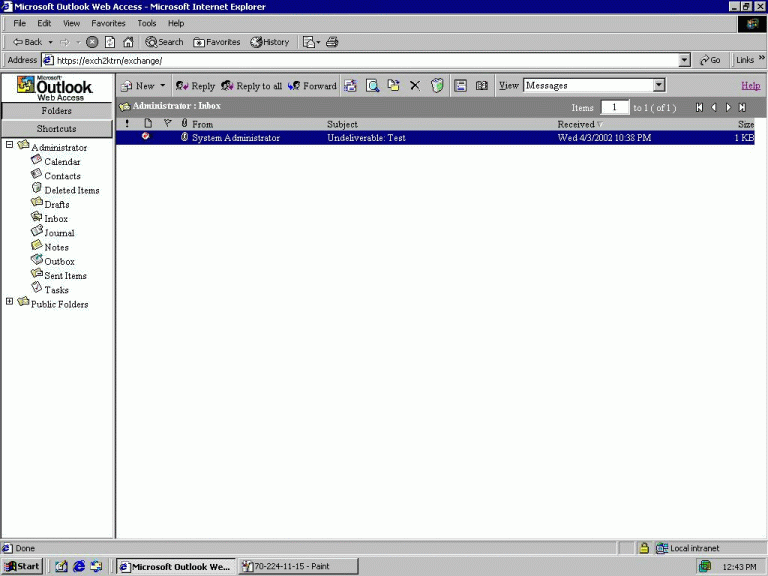
Now we should be able to verify that users will be forced to use an SSL connection regardless of whether they type in HTTP or HTTPS. Take a look at Figure 14 to see if all our hard work has
paid off!
Figure 14
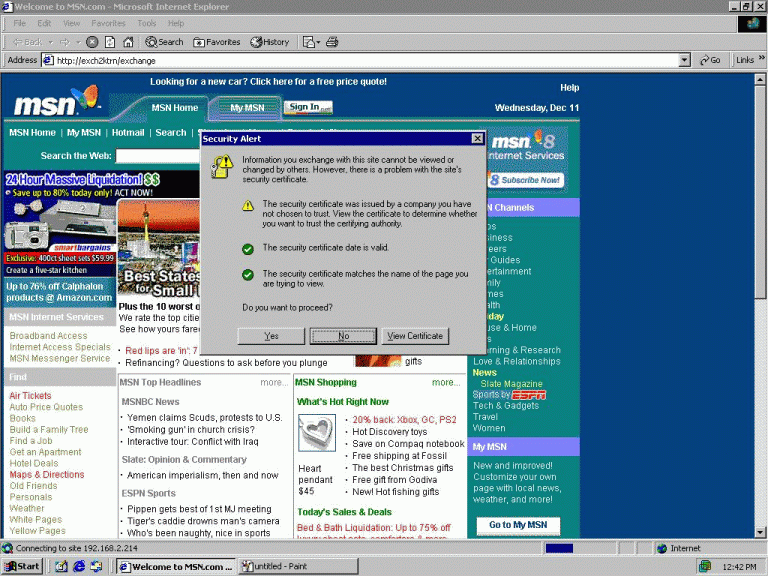
We can see that it works if we type in the secure port (HTTPS). See what happens if you type in “HTTP.” Figure 15 provides the proof. Be sure to look in the address bar to see that we are being redirected to the secure site even though we use the unsecured port (HTTP).
Figure 15
With the completion of this step, we have accomplished two of our three goals to this point. We have enabled SSL on our OWA server, and we have configured it so that users are forced into an SSL connection when they connect to the OWA server. All that remains is configuring the password change utility.

