The
GUI-based Windows XP Professional Setup Wizard is the next stage of the
installation process.
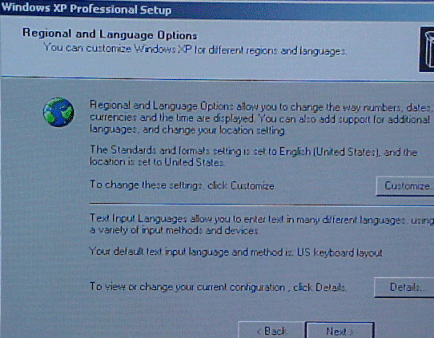
Regional
settings – In this section you are able to
customize settings to your language and where you live as well as setup
Windows XP Professional to use multiple languages and regional settings.
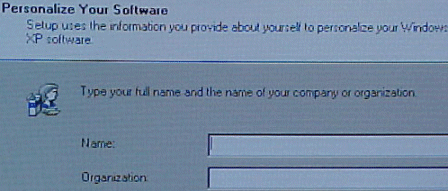
Personalize your Software – In this section you
can enter the name of the person and the organization to which this copy of
Windows XP Professional is licensed. This can be your own name and nothing
in the organization field or the name of the company in both places if this
installation is being performed in a place of business. Software installed
on the system later will often use this information for product registration
and document identification.
Your
Product Key – This page is where you enter your
25-character product key in order to install the software.

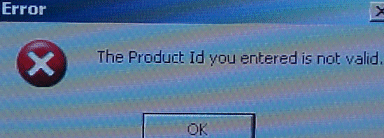
If you
incorrectly type the key, an error message will be generated.
Computer
Name And Administrator Password – Here you enter
a name for the computer or use the auto-generated one that Windows XP
Professional provided.
The
computer name will always display in all uppercase letters, no matter how
you type it. The name is not case sensitive.
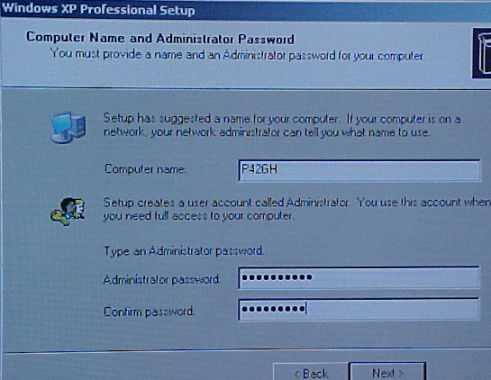
In the
Administrator Password box on the same screen, you will enter the password
to be used for the administrator account and in the Confirm Password box you
will re-enter it to make sure that it is entered correctly.

If the
passwords do not match, the above error message will appear and you will
need to enter them again.
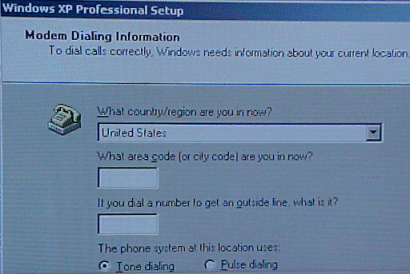
Modem
Dialing Information – This section will begin
only if an installed modem has been found on your system.
Enter the
correct country or region if it is not selected. (It should match your
selection from the Regional settings page.) Type your area code or
city code and any number you might need to dial to get an outside line. You
can also select either tone or pulse dialing on this page as well.
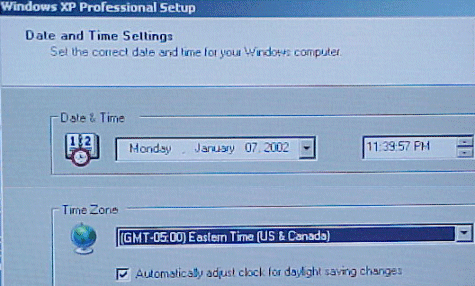
Date and
Time Settings – This section of Setup allows you
to verify that the correct date, time and time zone are entered and whether
or not the system should adjust itself automatically at the daylight savings
times events each year.
Network
Settings – The next section of setup deals
entirely with installing the Windows XP Professional networking components
on your system.
Installing
Windows XP Professional networking components involves the following
processes:
Detect network adapter cards – The Setup
Wizard detects and configures any network adapter cards installed on the
computer. By default, it attempts to locate a DHCP server on the network. If
none is found it will use an Automatic Private IP Addressing (APIPA) IP
address. (The APIPA IP address feature of Windows XP Professional
automatically configures a unique IP address from the range 169.254.0.1 to
169.254.255.255 and a subnet mask of 255.255.0.0 when TCP/IP is configured
for dynamic addressing and a DHCP server is not available.)
Select networking components – The Setup
Wizard prompts you to choose typical or customized settings for networking
components.
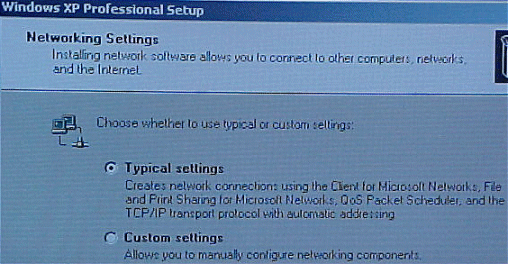
The Typical (selected by
default) installation includes the following options:

- Client For Microsoft Networks. Allows your
computer to access network resources. - File And Printer Sharing For Microsoft
Networks. Allows other computers to access file and print resources on
your computer. - QoS Packet Scheduler. Helps provide a
guaranteed delivery system for network traffic, such as Internet Protocol
(TCP/IP) packets. - Internet Protocol (TCP/IP). Allows your
computer to communicate over local area networks (LANs) and wide area
networks (WANs). TCP/IP is the default networking protocol.
You can install other
clients, services, and network protocols during the Windows XP Professional
installation by choosing CUSTOM, but it is recommended that you wait until
after the installation has completed to add additional services. (The
exception would be if the lack of these services would prevent the system
from coming online to your network properly upon restart.)
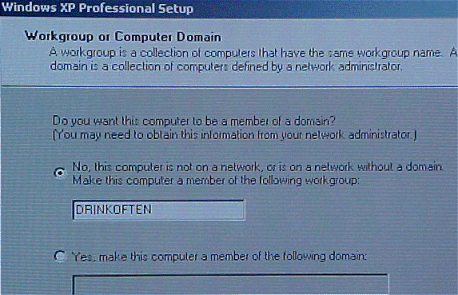
Workgroup or Computer
Domain – This section allows you to choose to join a domain for which
you have administrative privileges or to join a local workgroup. You can
create the computer account in the domain you are joining ahead of time or
during installation. (The Setup Wizard prompts you for the name and password
of a user account with authority to add domain computer accounts if you
elect to create the account during the Windows XP Professional
installation).
After
installing the networking components, Setup starts the final steps of the
installation process, which include;
- Install Start menu items – Shortcuts that
will appear on the Start menu are installed and configured during this
stage. - Register components – The configuration
settings that you specified earlier during the install are configured now.
- Save the configuration – The Setup Wizard
saves your entered configuration settings. Once the system is restarted,
the computer uses this configuration by default. - Remove temporary files – Any files used
by the Setup Wizard that are no longer needed are deleted. - Restart the computer – The computer is
automatically restarted. This is the final step of the Setup Wizard.

