From the Manage Your Server welcome page (shown above), you will choose
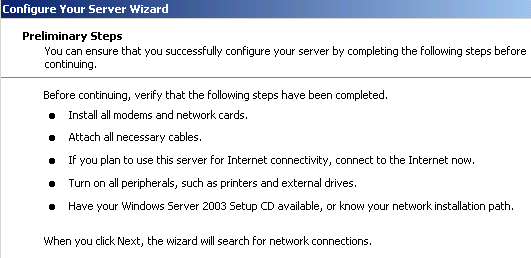
Add or Remove a Role and you will be presented with the Preliminary
Steps screen where you can read the information and verify that all of
the network connections are available. You can also check to see if
you have the needed installation path information (or the cd) to the
Windows Server 2003 setup files.

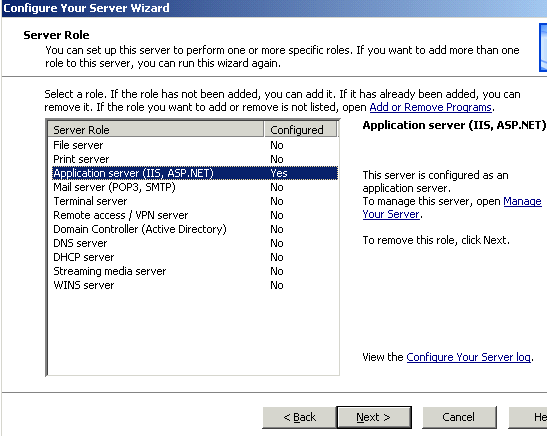
From here, the setup wizard will test your available and enabled
network connections and bring you to the Server Role screen. If you
wanted to add another role to this Application Server you would choose
another role (File Server for example) and click next to
continue. This would allow the wizard to continue with installing the
new role. Since we wish to remove a role, we will select a role that
is already configured on the server and click NEXT to remove it.

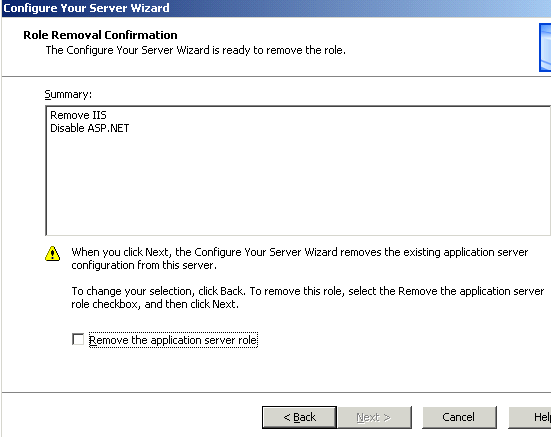
On the Role Removal Confirmation screen you will see the summary of
what will be done to the system in order to remove the current
role. In some cases components will be removed and in others services
will be disabled.

The next step of the process is to remove the role, so this screen has
a check box that you must select before you can choose NEXT to
continue. (You may note that in the screen shot the box is not checked
and the NEXT button is not available.)
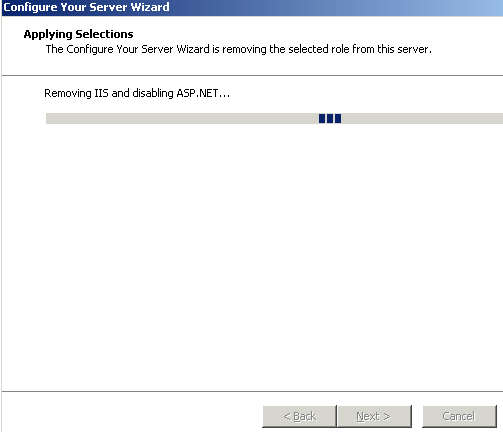
After you choose NEXT the wizard immediately begins to remove the
role. The “Are You Sure” prompt is the previous screen’s checkbox and
the NEXT box is grayed out.


