


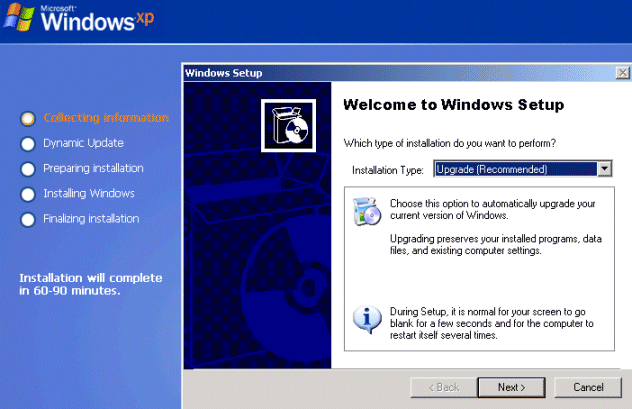
Performing the Upgrade Installation
The next
point of the Upgrade installation is the setup type. Even
though you are actually already within an existing operating system, you are
not forced to upgrade to the new operating system. You can
choose the option to perform a clean installation at this
point. (The default recommended option is Upgrade, as shown
above.)
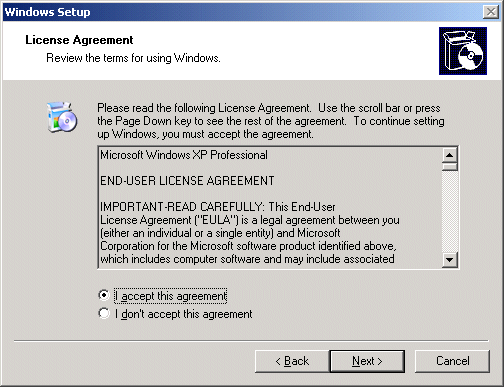
The next
page is the License Agreement, where you will need to click
I Accept This Agreement, in order to continue.
Next, you
will need to enter your 25-character product key on the
product Key page.
The next
phase from here will vary slightly depending on whether you
are upgrading from a Windows 9x system, where you will be
asked whether you want to upgrade to the NTFS file system
from your FAT or FAT32 partition, or if you are upgrading
from Windows NT4 (and are therefore already using NTFS), you will see the Upgrading To The Windows XP Professional
NTFS File System page.
After you
choose how you wish to handle the file system upgrade, setup will
continue, reboot the computer and finish the upgrade of your
system on its own.
Installing Windows XP Professional via Remote
Installation Services
In order to
install Windows XP Professional using the Remote
Installation Service, you must install the RIS on a Windows
2000 server (either Server, Advanced Server or Datacenter)
using the Remote Installation Services Setup Wizard. The
server can be a member server or a domain controller — it
doesn’t make a difference; however, the following services must be present on
the network in order to use RIS:
| DNS | RIS relies on the DNS service for locating both the directory service and client computer accounts. |
| DHCP | The DHCP service is required so that client computers that can receive an IP address. |
| Active Directory | RIS relies on the Active Directory service in for locating the RIS servers. |
The shared
volume where the RIS data is installed cannot be on the
same drive that is running Windows 2000 Server. The volume
must be large enough to hold the RIS software and the
various Windows XP Professional images that are installed
and that volume must be formatted with the NTFS 5 file
system.
You begin
the RIS server setup by logging on to the server with an
account that has administrative permissions and then going to the
Control Panel and selecting Add/Remove Programs. From here you
will need to choose Add/Remove Windows Components and make
sure that you have either the Windows I386 directory
available for the installation or the Windows 2000 Server
CDROM.
In the Add/Remove Windows Components window, select Remote
Installation Services.
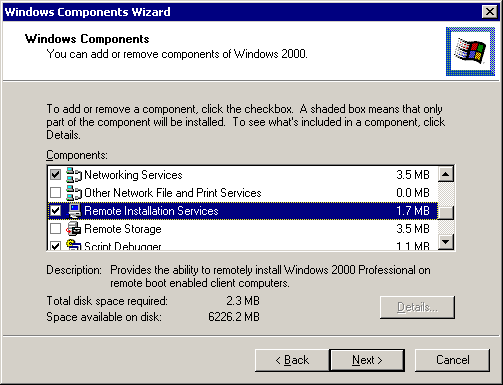
From this
point, the remainder of the installation is automatic. (If
the I386 source files cannot be found the system will prompt
you to locate them.)
When the
installation is completed, you’ll need to restart your
server to configure your RIS services.
You need to
go back into the Control Panel and choose Add/Remove Windows
Components again in order to start the configuration. (You
can also type RIsetup from the run line or a command prompt
as well.)
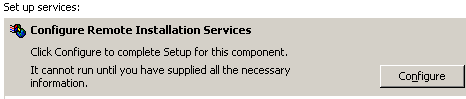
Click on
Configure to begin. This will launch the Welcome to the
Remote Installation Services Setup Wizard, as shown below.
(The window below is the first thing you will see if you
choose to type RIsetup from the run line or a command
prompt.)

Once you
continue you will be prompted with the default Remote
Installation folder location of D:RemoteIstall. You can
elect to keep the default path or browse to a new location.
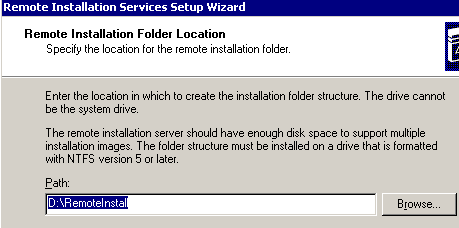
The volume
you opt to use must be large enough to hold the RIS software
and the various Windows XP Professional images that will be
installed, and the volume must be formatted with the NTFS 5
file system.
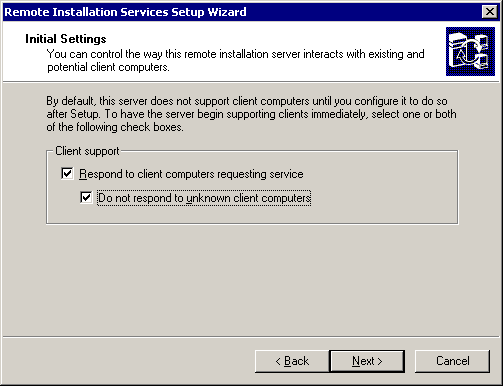
By default,
Remote Installation Services servers do not respond to
requests for service from client computers. There are two
settings available to use on the server.
If you select the “Respond to clients requesting service”
option, Remote Installation Services is enabled and will
respond to client computers requesting service.
Additionally, if you select the “Do not respond to unknown
client computers” option, Remote Installation Services will
respond only to known (prestaged) client computers.
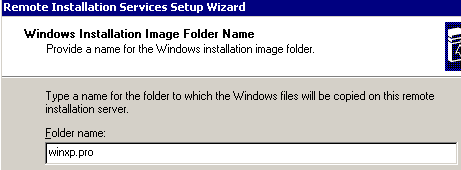
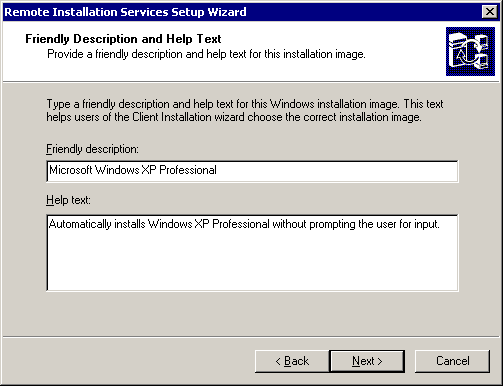
You will
also need to provide a name for the Windows installation
image folder, as well as a friendly description for each
image you install on the RIS server.

The last
step the wizard performs is actually a series of events, as
outlined in the image above. Once the final step is
completed, the setup wizard starts the required services for
RIS to run. The server is complete at this point and will
service client requests for CD-based installs.
Additional
details of
RIS configuration and administration from this point
forward actually goes beyond the scope of what is required
for installing Windows XP Professional CD-based installs via
RIS. For additional information on
RIS for Windows XP Professional, you can visit the Microsoft
Website.