Welcome to the 25th installment of “Learn Windows XP Professional in 15 Minutes a Week.” This article offers an initial look at the user logon and authentication process in Windows XP.
Jason Zandri provides an initial overview of the user logon and authentication process in Windows XP.
The Windows XP Professional operating system enables different system users or the different users within the networked environment to log on and gain access to either the local machine, the available network resources, or a combination. How users log in for this access depends on the system configuration and whether the system is in a stand-alone configuration or if it has been configured as a member of a domain.
[NOTES FROM THE FIELD] – The next article, “User Logon and Authentication in Windows XP, Part 2,” will explain the differences in the two system configurations and the available logon types in greater detail.
Note that, by default, a stand-alone Windows XP system (i.e., a system that is not a member of a domain) will present the “Welcome” screen in most cases instead of the “Log On to Windows” dialog box presented when a user selects the CTRL+ALT+DEL keys in a domain configuration.
The Welcome screen hosts all of the available users on the local system on the desktop. In this situation, the username is available for someone to walk up and select. (He will not need to enter it into the username field, and this field is not provided in this configuration.) Only the password to the selected account is required for login.
This type of configuration is controlled on stand-alone systems via the Control Panel under User Accounts. On the User Accounts screen you would be able to “Pick a task” and “Change the way users log on or off.” By default, the “Use the Welcome Screen” checkbox is selected and provides the end user with the Welcome Screen. Removing this check mark configures the system to use the “standard” Log On to Windows dialog box at start up and for each subsequent logon.
Stand-alone configurations using the Log On to Windows dialog box do not require the CTRL+ALT+DEL key combination to log on, as the Interactive logon setting is configured to “do not require CRTL+ALT+DEL/Not defined” by default.
To enable this on a local system, go to the Local Security Policy of the system and open the security settings. Then go to Security Options under Local Policies. In the pane view, double-click Interactive logon: Do not require CTRL+ALT+DEL to bring up the properties page. To enable the “Not defined” setting, change the setting from “Not defined” to “Disabled,” as you would want the CTRL+ALT+DEL function to be required.
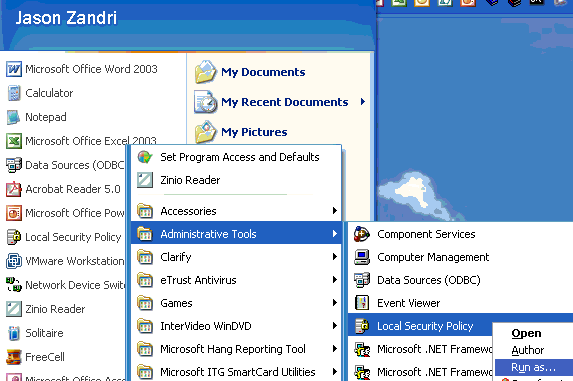
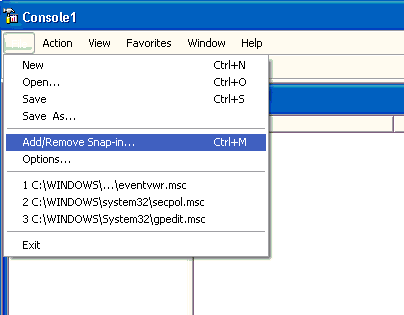
One way to do this is to go to the Administrative Tools on the Start Menu and find the Local Security Policy MMC. Right-click it to bring up the RUN AS option. (This scenario assumes the user is logged on with a standard user account making these steps necessary; a user logged in with an account with administrative-level rights to the local system would not need to perform these steps.)

Once the secondary logon service starts, the RUN AS dialog box appears, allowing the user to enter the necessary credentials to open the Local Security Policy MMC with the appropriate rights on the local system. He can thus make the desired changes.


