That was the easy part.
Now that we have our certificate installed, we first want to make certain that our clients using OWA can connect using SSL. Once we verify SSL connectivity is working, we are going to automate the process so that even if a user doesn’t type in HTTPS: they will be redirected to the secure link without having to type anything in. Finally, we will configure IIS to allow an OWA user to change his or her domain password.
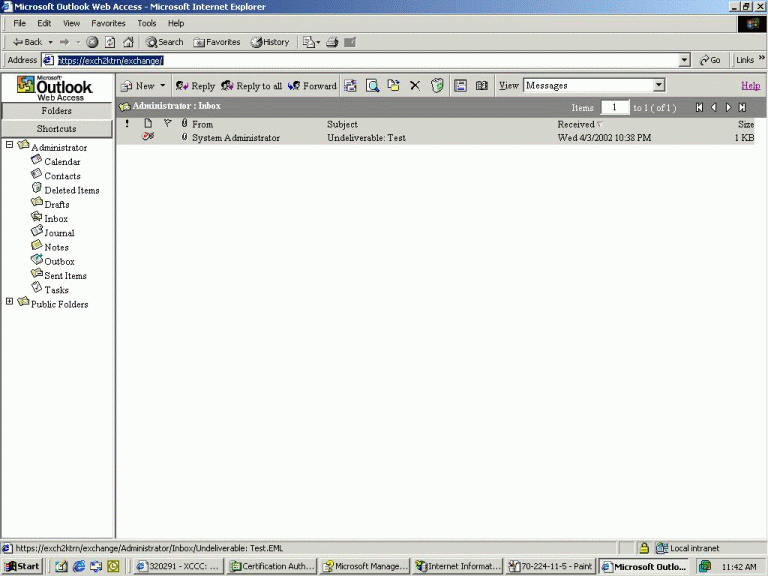
To start off, we want to verify that HTTPS works, so type in the URL HTTPS://exchangeservername/exchange and verify that we can get to our mailbox. As you can see from Figure 5, everything is working fine.
Figure 5

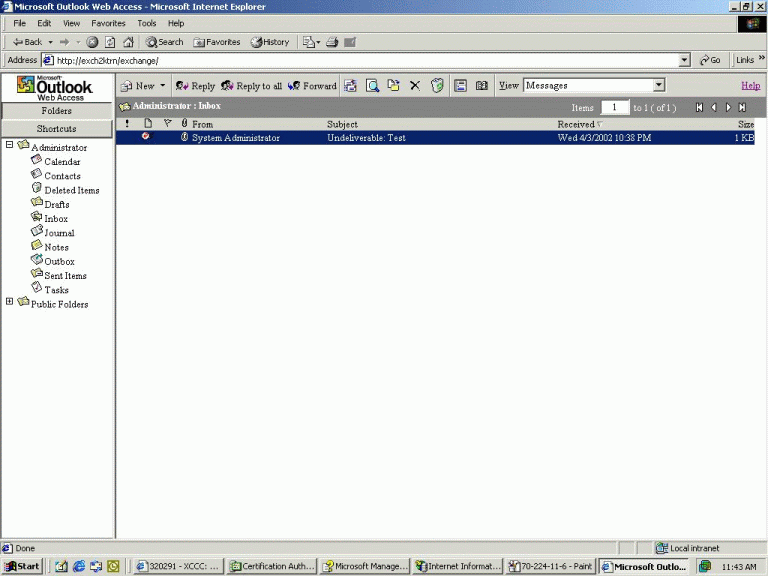
The only problem at this point is that a user can still access his or her mailbox using an
unsecured link as well. Figure 6 illustrates what we mean.
Figure 6

So the problem here is that although SSL is enabled users are still able to access their mailboxes using an
unsecured link. This obviously is undesirable because we can’t count on our users to remember to type in HTTPS when they attempt to access their mailboxes through OWA. Luckily, we don’t have to rely on the users doing this.
Forcing SSL
Now we are going to look at how to set this up so that the user has to use SSL to access the Web site, and will be redirected to the secure port even if he types in the
unsecured (HTTP) port.
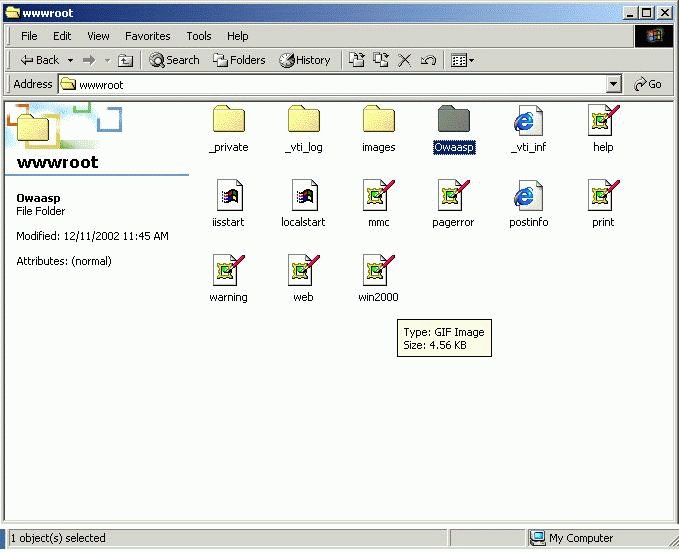
First, we need to go into the C:inetpubwwwroot directory and create a folder called Owaasp, as seen in Figure 7.
Figure 7

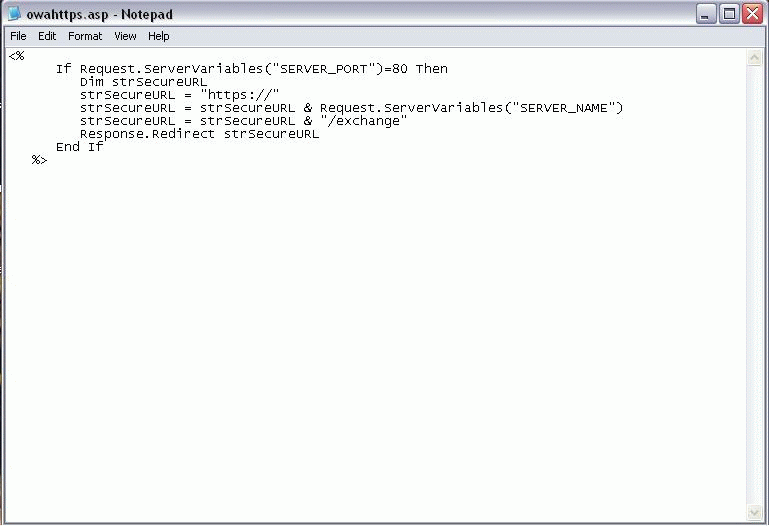
Next, we actually create a file called owahttps.asp and put it into the directory previously specified. The content of the file is included in Figure
8, but I have also included the content below the graphic so that
you can copy and paste it into your own file as needed.
Note that this information comes from a Q article originally published on Technet.
Figure 8


