


Installing Exchange Server 2000
Now that we have that out of the way, we are actually ready to start the installation of our first Exchange 2000 server into our organization. At this point, we have already accomplished the forestprep and domainprep portions of the installation, so the only thing that we need at this point are local administrator permissions and Exchange Full Administrator permissions to the Exchange Organization object. Of course, having the Exchange 2000 CD won’t hurt either, so let’s grab our disc and start the installation.
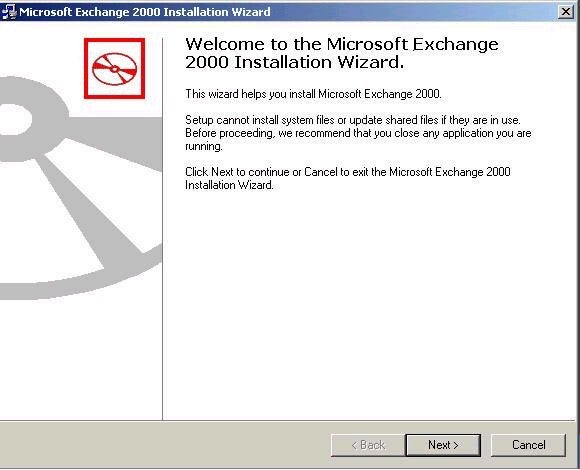
The first screen that we see is the Exchange 2000 splash screen that shows our different options that are available with Exchange 2000. We select setup, and then we are off and running. Of course, the first screen that we will see will be the welcome screen as follows:
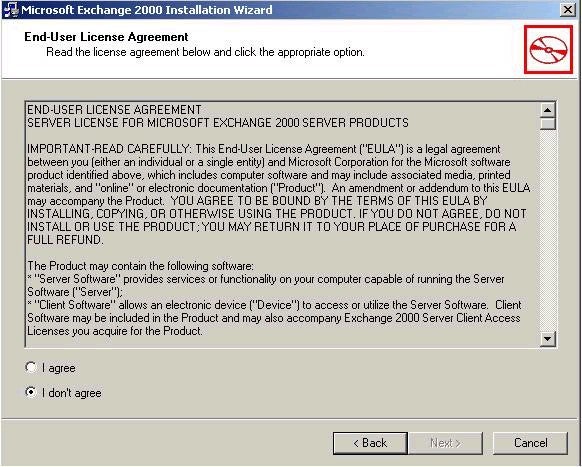
Next up will be our license agreement screen. If you haven’t already tried, if you select that you don’t agree with the license agreement, the setup program will exit. My guess is that you want to install the product (after all, you already paid for it), so agreeing is the logical choice here:
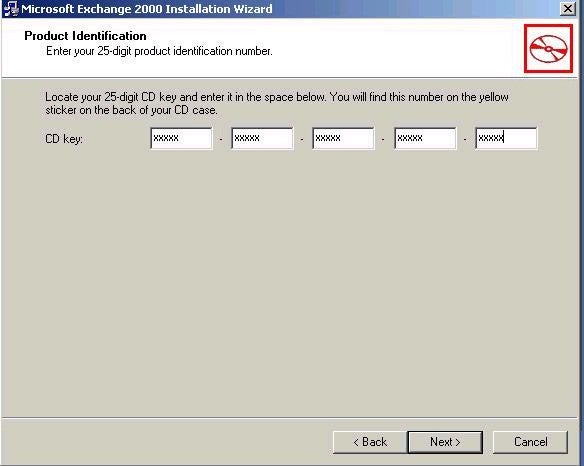
After we have accepted the license agreement, we see the next screen which requests our Product Identification Key. This will be a 25-digit code, typically located on the back of the CD case that Exchange 2000 came in. Once you have correctly entered the key, you can click on next to continue the installation.
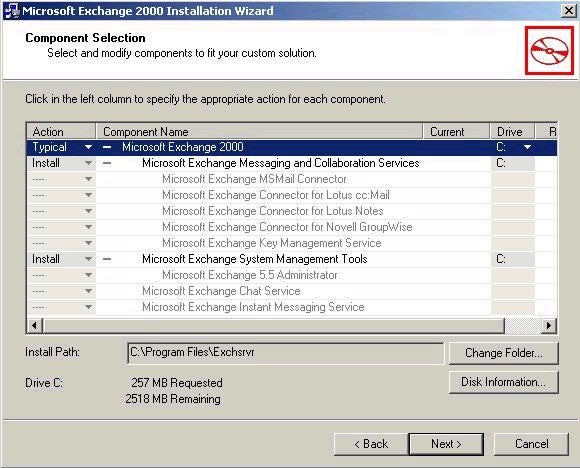
Next up is the Component Selection Screen where we will choose to do either a Custom, Typical, or Minimum installation of Exchange 2000. For testing purposes, this is something worth remembering. The Typical Installation option will install Microsoft Exchange 2000, Microsoft Exchange Messaging and Collaboration Services, and Microsoft Exchange System Management Tools. The Custom Installation option allows you to pick and chose which components you would like to install, including the different connectors for attaching to legacy mail systems like a MS Mail Postoffice or 3rd Party mail systems like GroupWise and Lotus Notes. The Minimum Installation option allows you to install Exchange 2000 and the Microsoft Exchange Messaging and Collaboration Services. If you look at the next screen shot, it should give you a pretty good idea of what is installed with each option.
Of course, you also have to decide where you want to install the Exchange server files. In my case, I have accepted the default installation location. Keep in mind that after the installation, I can use the Exchange System Manager to move the database and log files to alternative locations, preferably a separate disk system. This helps minimize the impact that Exchange has on the system it is installed on. We will be talking about the ideal disk configuration for Exchange 2000 in a later article.
I have also included a screen shot here that shows you a possible error message that you might get during the process of selecting the components for Exchange 2000. The error message looks like this and should pretty much be self-explanatory:
