


The next
page that is presented starts the Network Settings section
of the answer file.
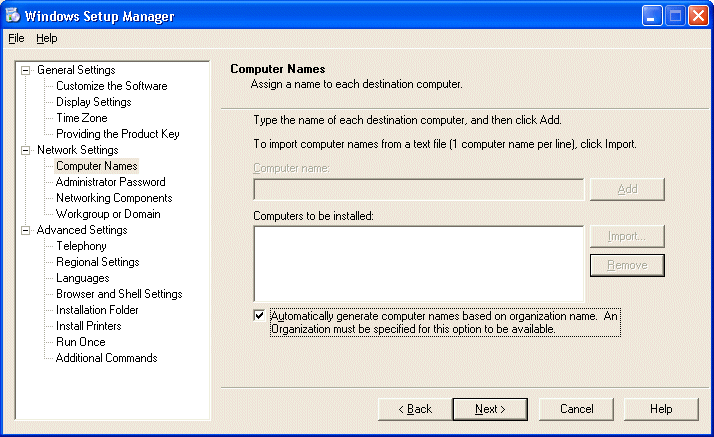
The first
entry is for Computer names. Here, you can enter as many
different workstation names and you want, import them from a
text file, or allow the installation program to auto
generate names based on your organization name.
[NOTES
FROM THE FIELD] – If multiple computer names were
specified in the computers to be installed section, the
setup wizard creates a *.UDB file. The Uniqueness Database
File (UDB) provides you the ability to specify individually
specific computer parameters automatically. The UDB modifies
an answer file by overriding values in the answer file, when
you run Setup with the /udf:id[,UDB_file] switch. The file
overrides values in the answer file, and the identifier (id)
determines which values in the .udb file are used.
The
Administrator Password page is next and has two options (of
which only the second is available):
Prompt The User For An Administrative Password
Use The Following Administrative Password (127 Characters
Maximum)
(Because we selected the User Interaction level of Fully
Automated, the Prompt The User For An Administrative
Password option is grayed out.)
Enter any
password that you want.
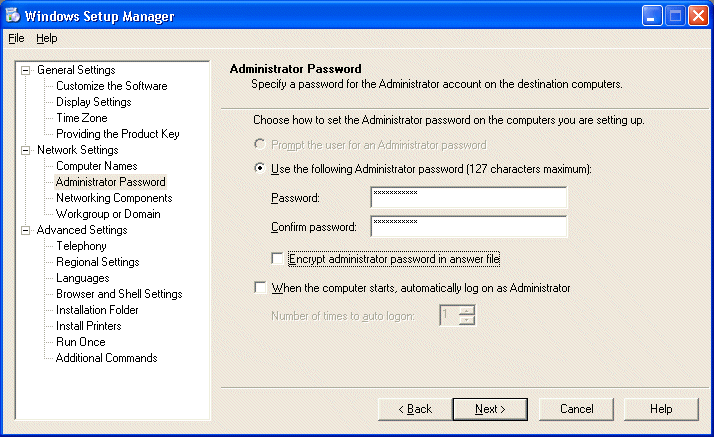
There are
also two other options on this page, one to encrypt the
Administrator’s password in the answer file and another to have the
Administrator log on automatically.
You can
also set the number of times you want the Administrator to
log on automatically when the computer is restarted.
We will
leave these blank and continue from here.

The
Networking Components page is where we can elect to keep the
typical settings or choose to customize them. We will
leave the default selection of Typical and select NEXT to
continue.
The final
page of the Network Settings section is the Workgroup or
Domain page.

Here you
can choose whether or not the answer file will put the newly
installed system into a workgroup or a domain. As with an
attended install, if we elect to choose a domain, we
may need to create a computer account in the domain if this
hasn’t already been done.
We will be
using the WORKGROUP option, so we will enter a name and
continue. (The WORKGROUP “workgroup” is supplied by default,
just as DOMAIN is under the Windows Server domain option.)
The final phase of the process is the Advanced Settings section.
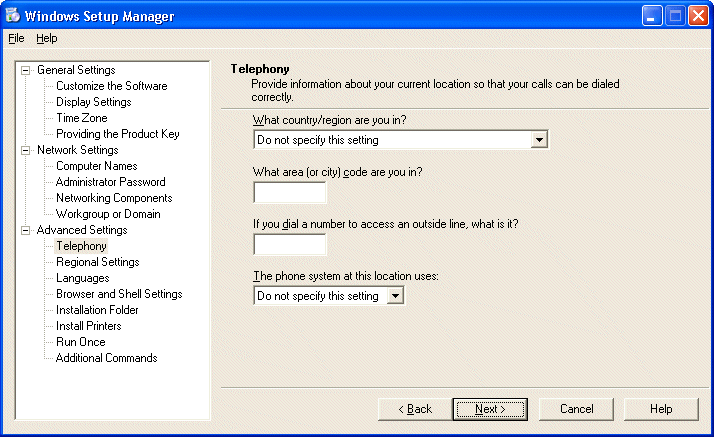
The first
option is for the Telephony information.
Next is the
Regional Setting section, which allows us to either use the
default regional settings for Windows XP Professional from
the CDROM we’re installing from or choose another.
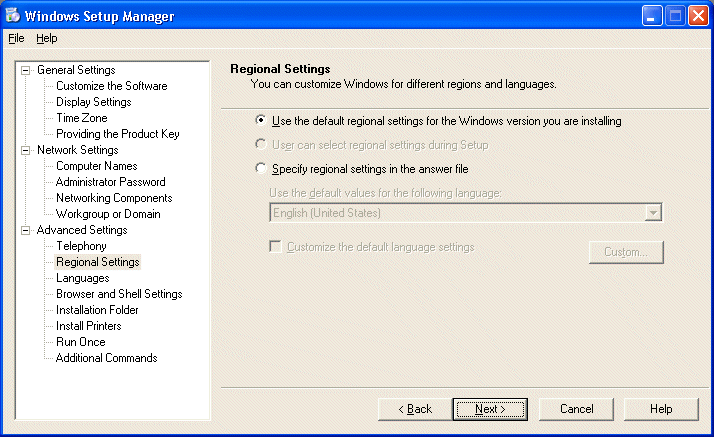
We will
keep the defaults as listed above and continue.
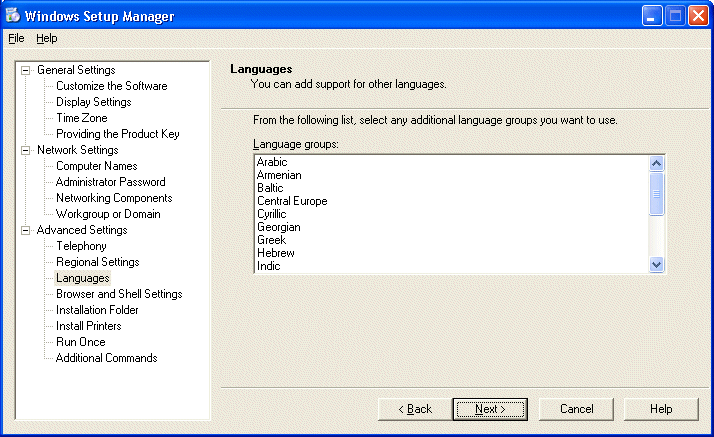
We are also
given the option to add support for other languages.
In the
Browser and Shell Settings section we can elect to use the
default Internet Explorer settings or use an auto
configuration script created by the Internet Explorer
Administration Kit.

We could
also set Proxy, Home page and other Browser settings at this
time as well. We will keep the defaults and continue.
[NOTES
FROM THE FIELD] – The version of Internet Explorer that is deployed with
Windows XP Professional is 6. At the time of this writing,
there is one security hotfix that should be installed on
systems that use Internet Explorer and that is
Q313675.exe.
The next
option of the Advanced Settings section is the Installation
Folder window.
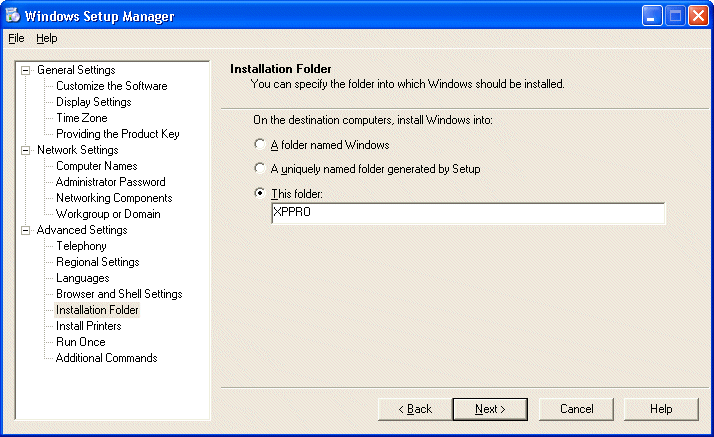
Here you
can elect to install Windows XP Professional to one of three
options as listed, only the third being a variable of your
choice.
[NOTES
FROM THE FIELD] – While I cannot find the specific Q
article at this time,
here is the Windows 2000 Professional article that
outlines my next point. Other than the above method of using
the answer file, there is no way on a clean installation of
Windows XP Professional to choose the installation folder.
The folder for Windows XP Professional will always default
to Windows. (DRIVE LETTER being the only
variable that you can set without the answer file.) Windows
2000 Professional is installed to the WINNT directory by
default.

The next
section allows you to automatically setup networked printers
on the target systems if you wish.

You can
also configure run once commands to run the first time a
user logs on.
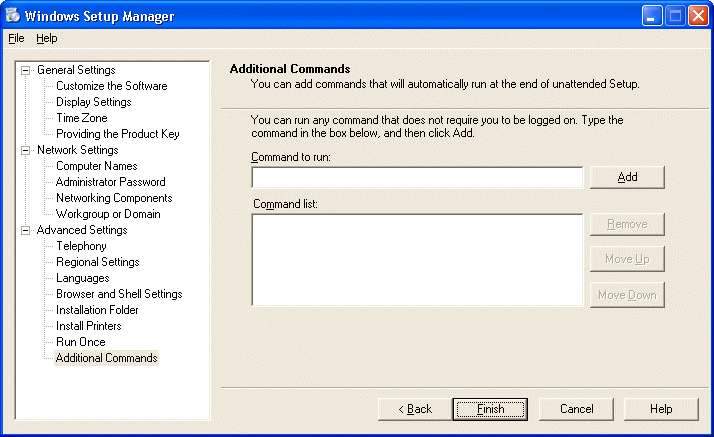
The last
step in the Advanced Settings section is the Additional
Commands option. It allows you to add any commands you wish
to run at the end of the unattended installation before
Setup restarts the system and runs Windows XP Professional
for the first time.
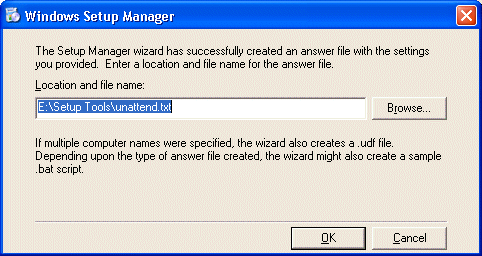
The Windows
Setup Manager will then create the answer file with the
settings you have provided with all of your previous entries
to a place on the local system as a text file. (The default
location is the folder where the Setup Tools were extracted
to.)
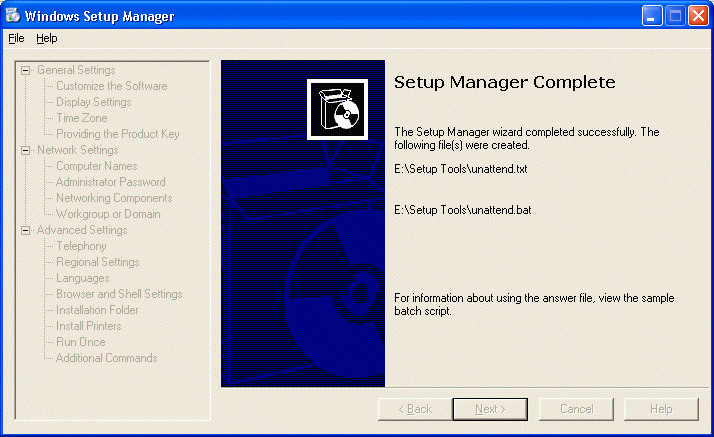
The
unattend.bat file that was created from our input here is
below.
@rem
SetupMgrTag
@echo off
rem
rem This is a SAMPLE batch script generated by the Setup
Manager Wizard.
rem If this script is moved from the location where it was
generated, it may have to be modified.
rem
set AnswerFile=.unattend.txt
set SetupFiles=J:i386
J:i386winnt32 /s:%SetupFiles% /unattend:%AnswerFile%
[NOTES
FROM THE FIELD] – The path of J:i386winnt32 /s:%SetupFiles%
/unattend:%AnswerFile% is the default path to my CDROM drive
on my system.
The
unattend.txt file that was created from our input here is
below.
;SetupMgrTag
[Data]
AutoPartition=1
MsDosInitiated=”0″
UnattendedInstall=”Yes”
[Unattended]
UnattendMode=FullUnattended
OemSkipEula=Yes
OemPreinstall=No
TargetPath=XPPRO
[GuiUnattended]
AdminPassword=”RedSox:Rule”
EncryptedAdminPassword=NO
OEMSkipRegional=1
TimeZone=35
OemSkipWelcome=1
[UserData]
ProductID=XXXXX-XXXXX-XXXXX-XXXXX-XXXXX
FullName=”Jason Zandri”
OrgName=”Gunderville”
ComputerName=*
[Identification]
JoinWorkgroup=DRINKOFTEN
[Networking]
InstallDefaultComponents=Yes
[NOTES
FROM THE FIELD] – Because we didn’t choose the option
to encrypt the Administrator password earlier on the
Administrator Password page of the Network settings section,
anyone that has access to read the unattend.txt can see what
the default administrator password for an installation is.
This can be a serious issue in large environments where the
passwords are not reset on a regular basis.
If
encryption were selected the entry in the [GuiUnattended]
section would look like this.
[GuiUnattended]
AdminPassword=f8a2b8ccdf88c616332ed3251640d370c1d991ef0f617f3e7879bc923d175c5a
EncryptedAdminPassword=Yes
Well,
that’s a wrap for this week.
In next
week’s installment I will briefly (yeah right) go over how to setup a RIS
server in order to deploy Windows XP Professional via RIS as
well Upgrading from older operating systems to Windows XP
Professional.
Until then, best of luck in your
studies and please feel free to contact me with any
questions on my column and remember,
“If a bad guy has unrestricted physical access to your
computer, it may not be your computer anymore”
Jason Zandri