Another
problematic “feature” of the desktop world is the need for access to
the internet. The humorous thing is that users try to pass off the need
for access as a business need, while we all know that users are really just checking
stock quotes and their web e-mails…
Another problematic ‘feature’ of the desktop world is the need for access to the internet. The humorous thing is that users try to pass off the need for access as a business need, while we all know that users are really just checking stock quotes and their web e-mails…
But, that
decision is left up to others, and all you are responsible for is making sure
that people can get through your firewall and hooked up to their favorite
“business” sites. Just pray that you do not have to monitor
where people are going, because that is truly the most tedious job you can
have. Aside from the fact that you do not really want to know what web
sites some people are visiting…
The first
place for failure is on the desktop (as usual). People somehow find a way
to change their settings and then conveniently forget what it is that they have
done. To check or edit your settings, either right click on your internet
explorer icon or open up IE and go to Tools | Internet | Options. Either one
of these will bring up the following screen:
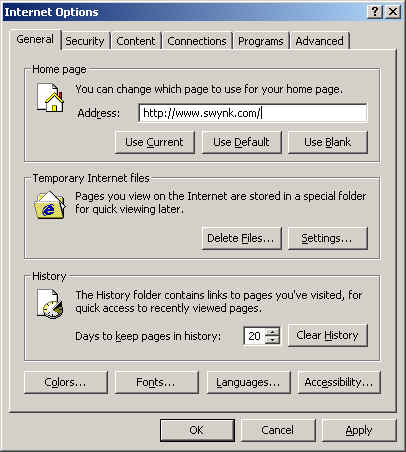
This is
an important screen because here you control your homepage and your temp and
history pages. I, of course, have Swynk as my homepage (as you should) and
I have accepted the defaults for the other settings. To edit your
temporary internet files setting, click the Settings button and you will see the
following:
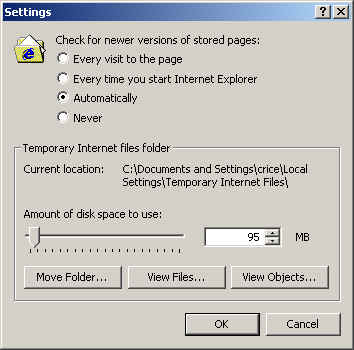
The
defaults here will probably be fine. The History pages should probably be
brought down from 20 days (this will depend on the size of your hard drive and
your internet activity). I usually actually drop this to 0.
Security:
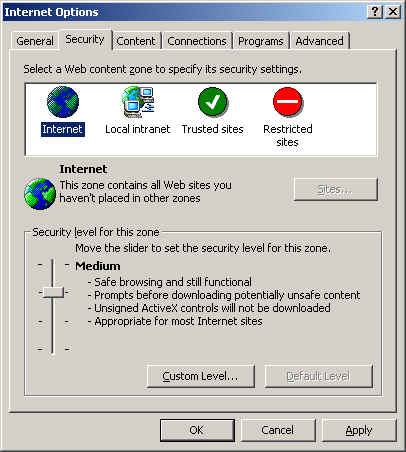
And content:
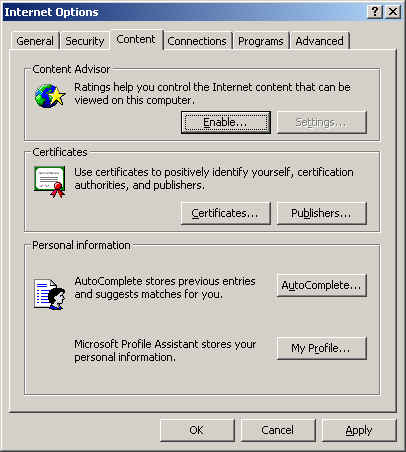
I usually leave alone, but you can make some modifications here
if you’d like. I make the same lack of changes to Programs:
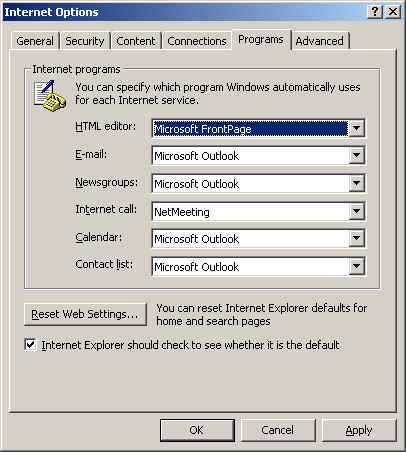
And Advanced (although you can get creative here):
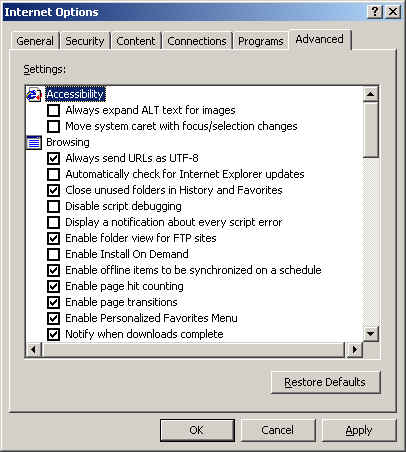
The other
tab that merits more discussion is the Connections Tab, which looks like:
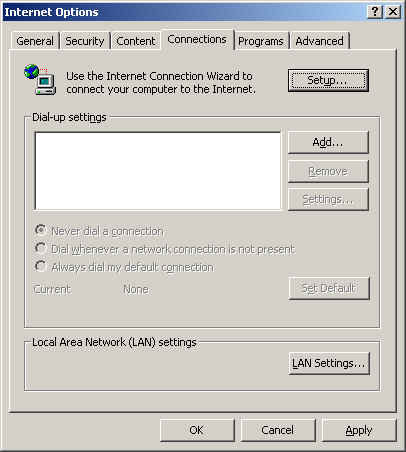
From
here, you can enter your LAN settings or step through the Internet Connection
wizard. The wizard looks like:
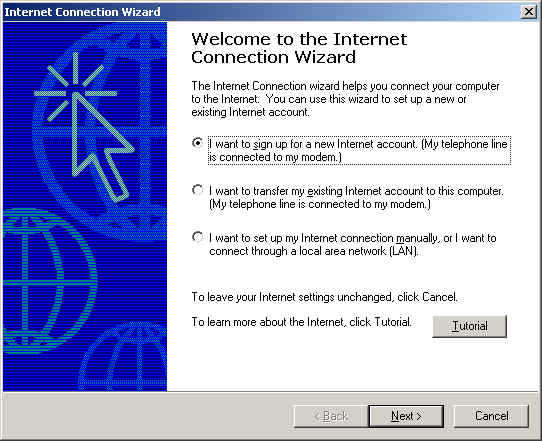
and from here you can set up your phone line or set up your LAN
connection. The best part is the auto-detection of LAN settings.
This takes out a lot of the old fat finger errors when setting up the internet.
You can
check the LAN settings by clicking the button at the bottom of this tab:
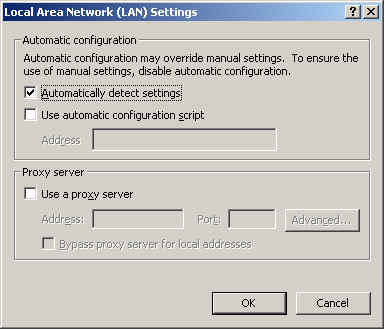
Here you can see what I was talking about. By default,
these are automatically detected. This is a BIG improvement in this
process. You can also point manually to a proxy or to a custom configuration
script.

